- how to integrate the Hosted UI authentication flow into our React application
In order to follow this tutorial, you must use Webiny version 5.18.0 or greater.
The code that we cover in this section can also be found in our GitHub examples repository  . Also, if you’d like to see the complete and final code of the application we’re building, check out the
 full-example folder.
The Remaining Steps
With the initial setup taken care of, we’re now ready to perform the remaining steps of the Hosted UI authentication flow integration and finally see everything in action. In order to do that, we’ll need to adjust the existing header bar.
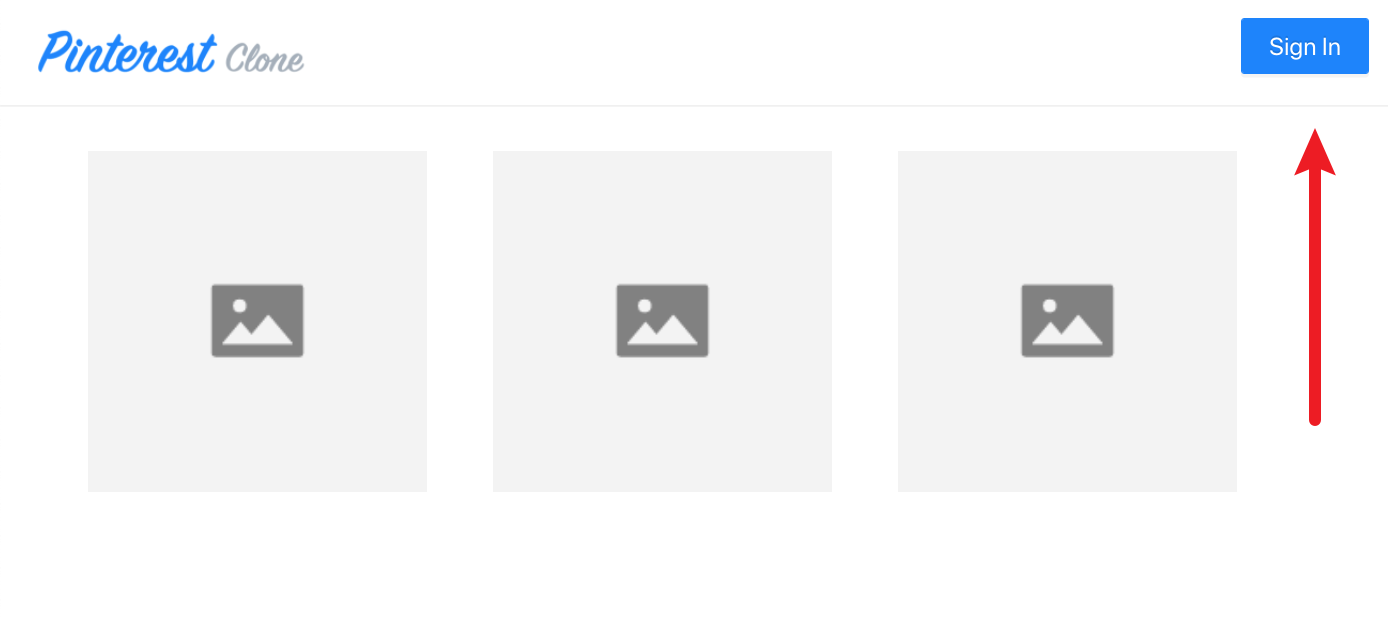
So, in the top-right corner, if the user is not signed in, we will show a simple Sign In button, like so:
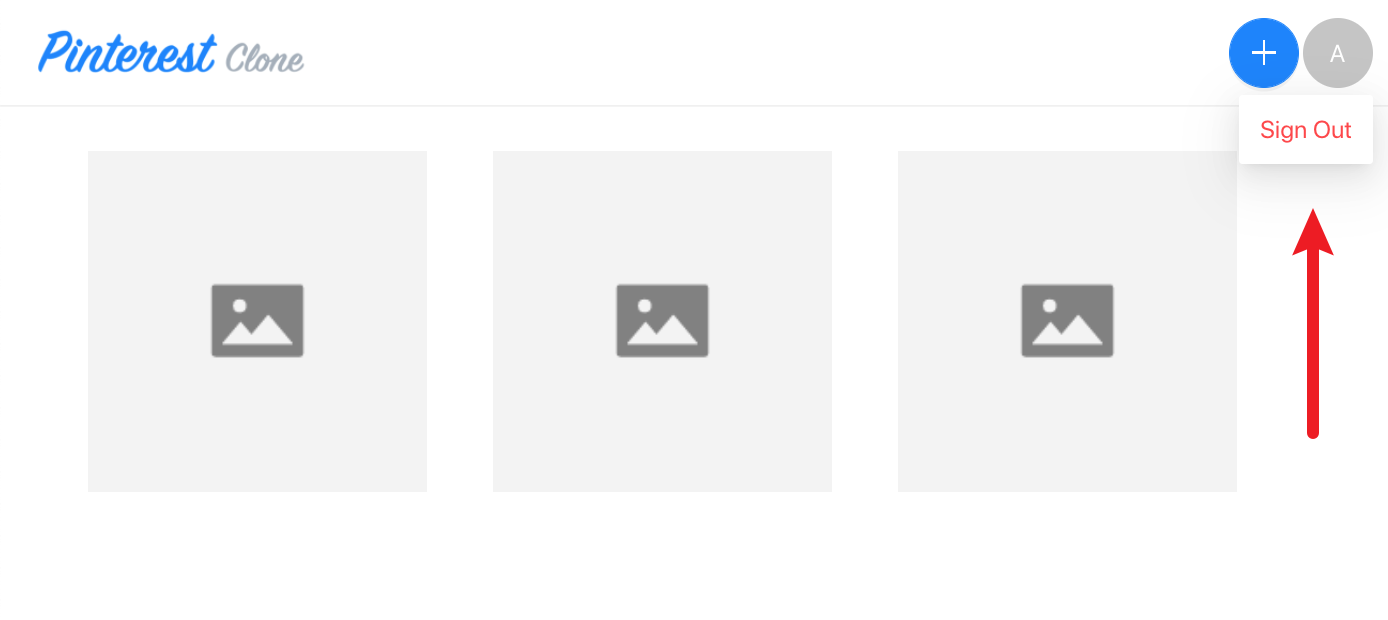
On the other hand, if the user is already signed in, then we’ll show the existing ⨁ icon, which, as previously seen, is used to open the New Pin modal dialog.
With that, we’ll also render signed in user’s avatar, where, at least for now, we’ll simply display the first letter of user’s first name. And also, once the avatar is clicked, a simple drop down menu will be rendered that will contain a single menu item, and that’s the Sign Out link.
In order to achieve all of this, let’s modify the existing Layout React component:
import React, { useState, useCallback } from "react";import { Menu, Avatar, Button, Divider, Dropdown } from "antd";import { PlusOutlined } from "@ant-design/icons";import { Link } from "@webiny/react-router";import { useSecurity } from "@webiny/app-security";import Auth from "@aws-amplify/auth";import logo from "~/images/logo.png";import NewPinModal from "./NewPinModal";
/** * The default layout component which you can use on any page. * Feel free to customize it or create additional layout components. */const Layout: React.FC<{ className: string }> = (props) => {const [visible, setVisible] = useState(false);const { identity } = useSecurity();const signIn = useCallback(() => Auth.federatedSignIn(), []);const signOut = useCallback(() => identity.logout, [identity]);
return (  <div className="layout">    {/* We're using the `nav` tag for rendering the header. */}    <nav>      <div>        <Link to={"/"}>          <img src={logo} className="logo" alt={"Pinterest Clone"} />        </Link>      </div>      <div>         {identity ? (           <>             <Button               onClick={() => setVisible(true)}               type="primary"               size={"large"}               shape="circle"               icon={<PlusOutlined />}             />             <Dropdown               overlay={                 <Menu>                   <Menu.Item key={"signout"} danger onClick={signOut}>                     Sign Out                   </Menu.Item>                 </Menu>               }             >               <Avatar size={"large"} style={{ cursor: "pointer" }}>                 {identity.displayName.charAt(0)}               </Avatar>             </Dropdown>           </>         ) : (           <Button type="primary" onClick={signIn}>             Sign In           </Button>         )}      </div>    </nav>    <Divider style={{ margin: 0 }} />
    {/* The pages are rendered within the `main` tag. */}    <main className={props.className}>{props.children}</main>    <NewPinModal visible={visible} onClose={() => setVisible(false)} />  </div>);};
export default Layout;
As we can see, first we’re retrieving the currently signed in user via the useSecurity React hook. Then, if the user was returned, we’re rendering the Button and Dropdown components, where the latter contains the mentioned Sign Out menu item. Naturally, if no user was returned, them we’re just rendering the Sign In button.
If all of the steps were performed correctly, if we were to click on the Sign In button, we should be redirected to the Hosted UI authentication flow, which will initially display the Sign In form:
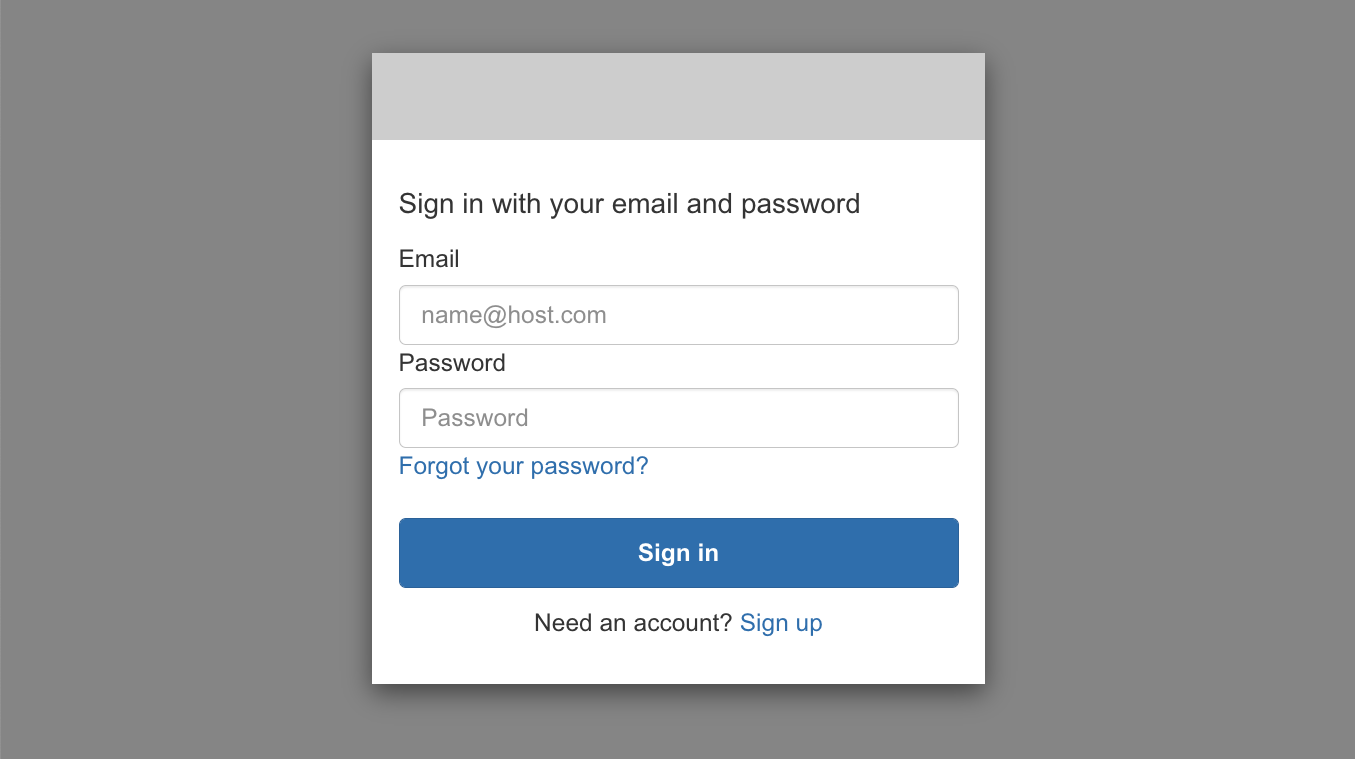
Since this is our first visit, we can click on the Sign up link below, which will then take us to the Sign Up form:
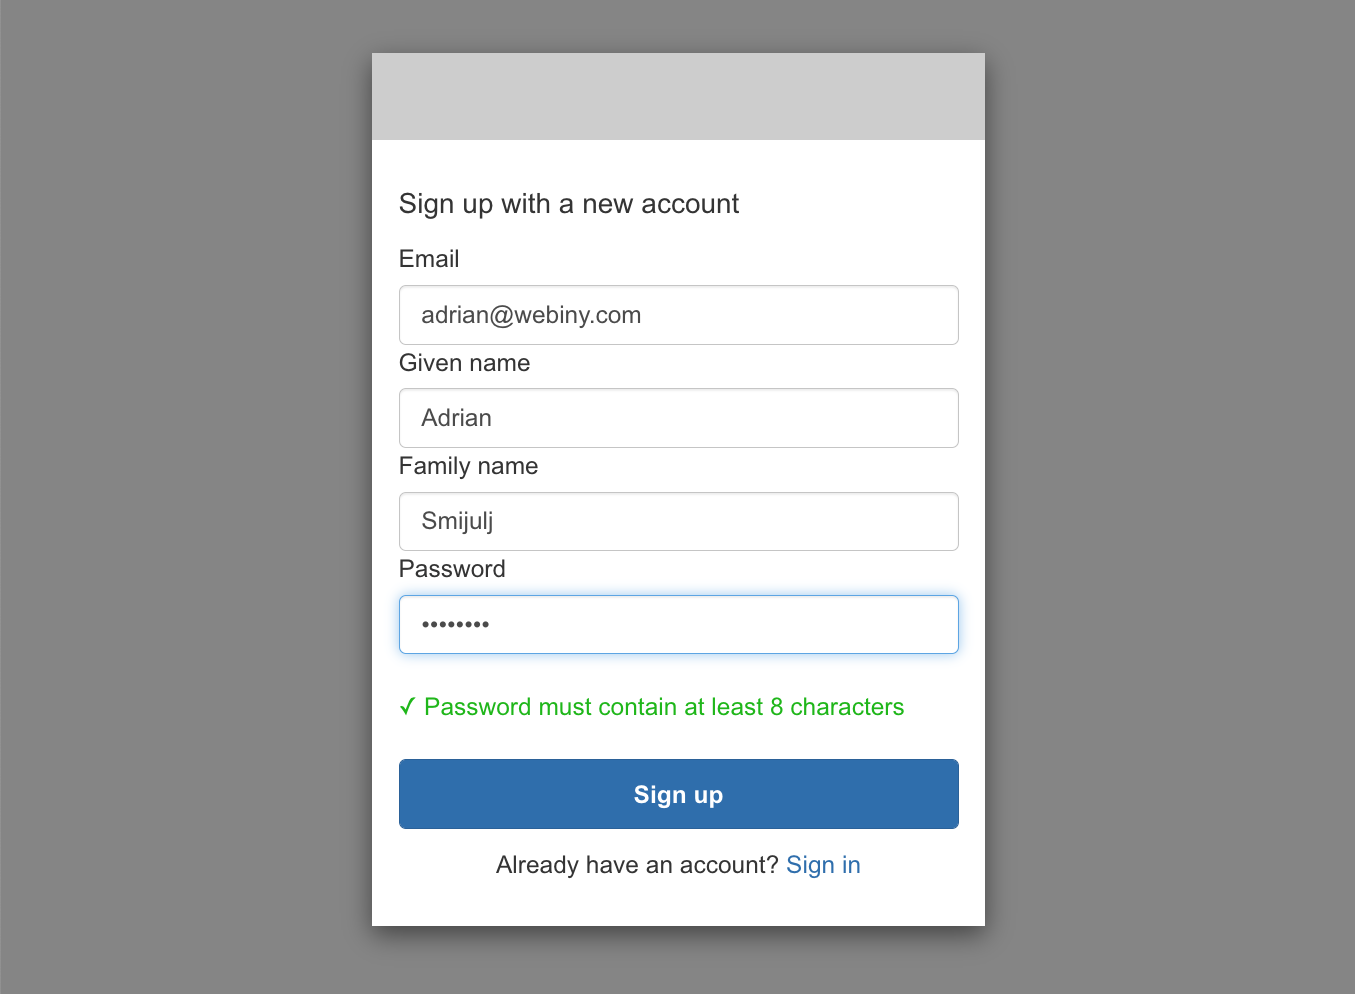
Once we fill all of the fields and submit the form, we should receive the following screen, asking us to enter the verification code that was automatically sent to our e-mail address:
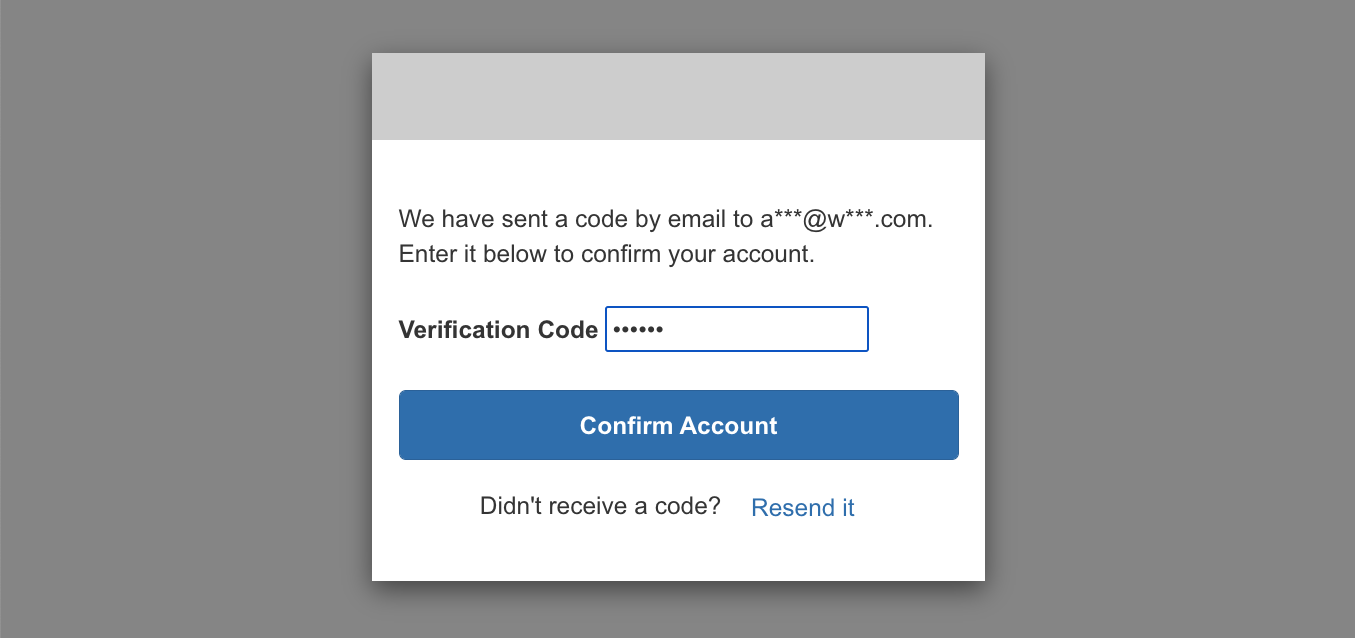
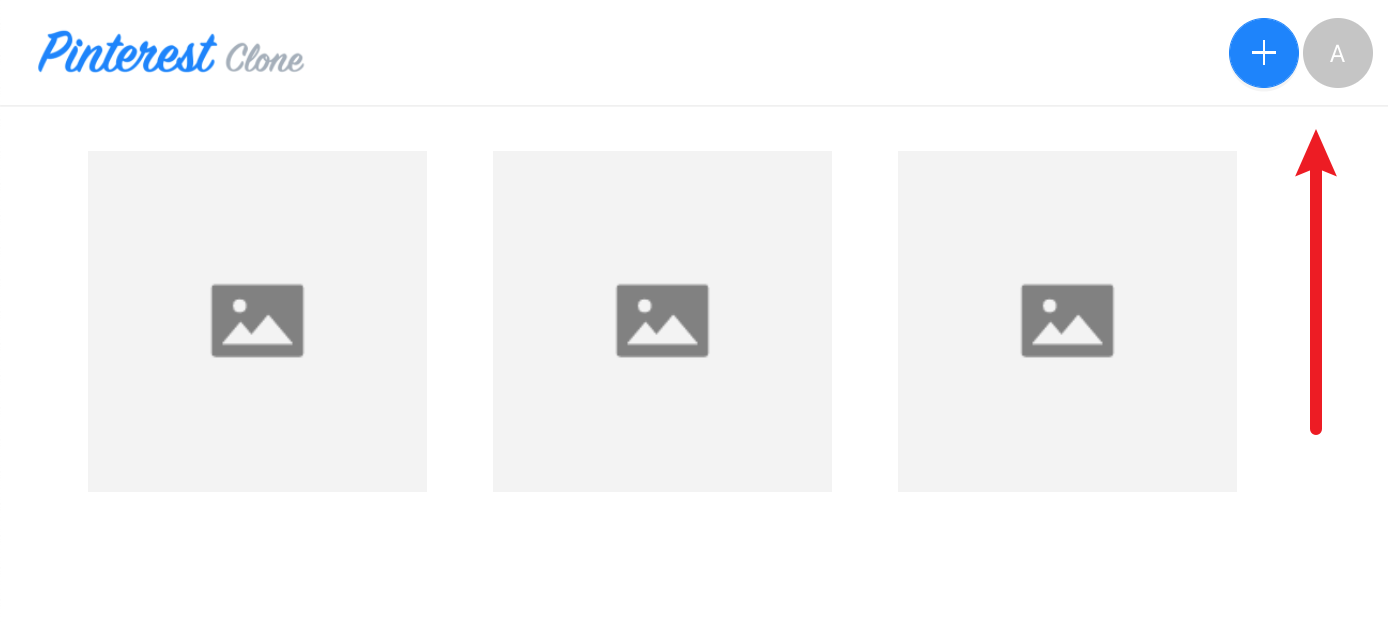
Finally, by entering the correct code into the field and submitting the form, the sign up process should be successfully concluded and we should be redirected back to our React application. Since we’re now signed in, in the header bar, we should be able to see the ⨁ icon button and our avatar (showing the first letter of our first name):
Final Result
With the Hosted UI authentication flow finally integrated, our users can now sign up and sign in to our application!
And, by only showing the ⨁ icon button to signed in users, we’ve restricted the anonymous users from opening the New Pin modal dialog and creating new pins.
But, note that without proper authentication and authorization checks implemented on the GraphQL API side, our application can still be considered as not secure enough. This is because, at the moment, anonymous users can still perform sensitive GraphQL mutations, with just a simple GraphQL client, pointed to our GraphQL API’s public URL. For example, they can still create new pins via the shown createPin(data: PinCreateInput!): Pin! mutation, or even delete the existing ones created by other users, via the deletePin(id: ID!): Pin! mutation.
So, to make our application even more secure, in the next and final section of this tutorial, we’ll implement the necessary authentication and authorization checks on the GraphQL API side.